|

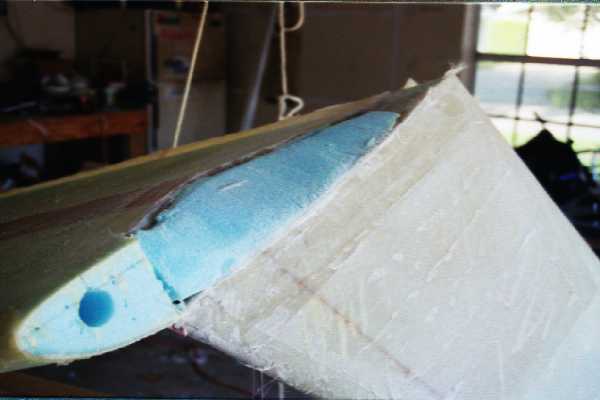
In this picture the outboard layup is completed. The winglet is flipped over and the foam on the trailing edge
is sanded away. It is now ready for the inboard layup.
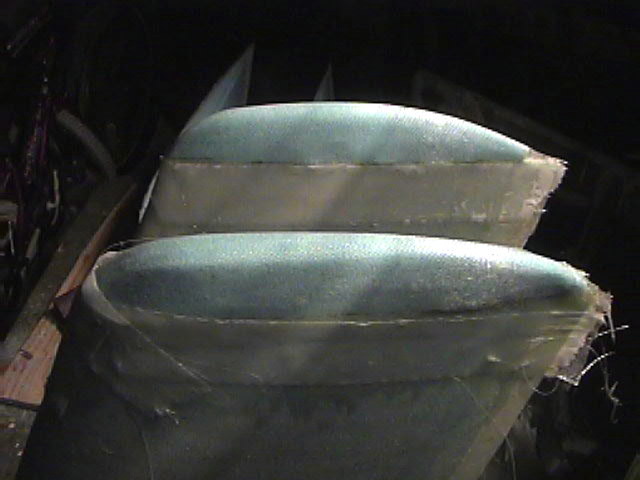
Small urethane blocks are added to the top of each winglet. They are then sanded to shape and glassed over.
It was still spring here, about 70 degrees, so a heat lamp aids in the curing process.
|
 |
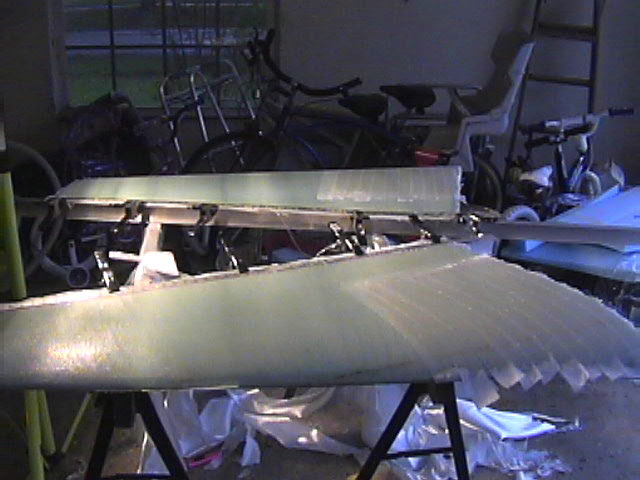
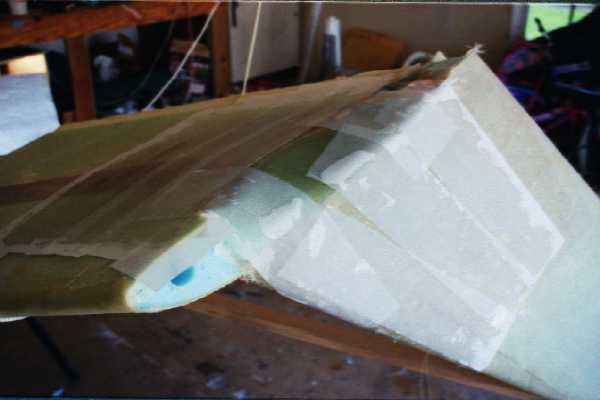
The next step is the inboard layup. For the trailing edge, I used the same aluminum I-beams used for the trailing
edge of the wings. A glass to glass bond is made, then aluminum yardsticks were laid over peel ply, and then clamped
together. The yardsticks are removed after cure and a nice sharp glass only trailing is ready to be trimmed
to final shape. You can see the peel ply in the lower corner of the winglet. This is for the layups that will
later attach the winglet to the wing.
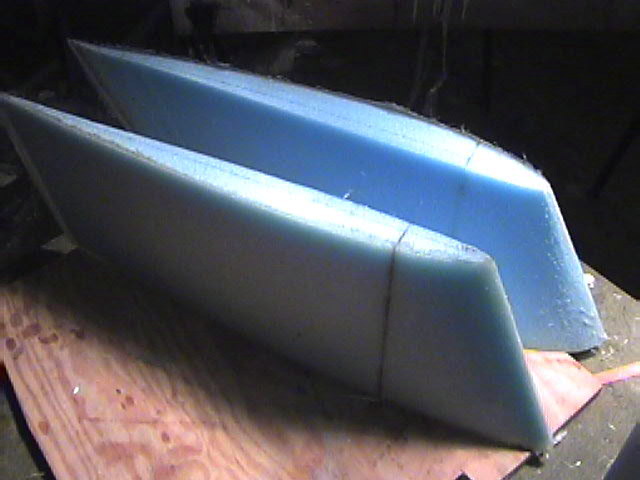
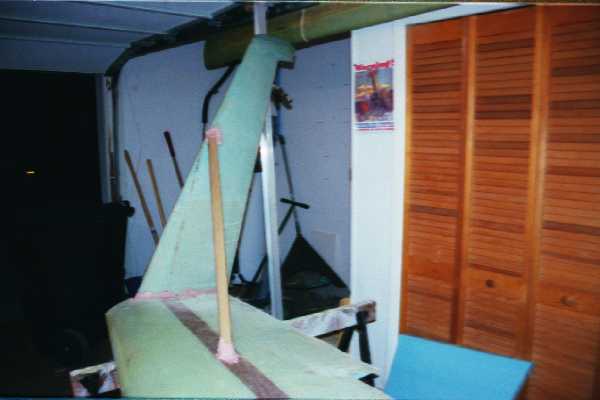
Although many people remove the lower winglets, I feel Burt Rutan knows more about aerodynamics than I.
Here are the lower winglets being glassed.
|
|
|
|
A small layup is placed in the corner attaching the winglet to the top skin of the wing. A block of foam is added
and sanded to an angle. The glass layup is then applied beginning with BID then UNI. The layup goes from the outside
of the winglet around the foam angle and then across the bottom of the wing. Peel ply is added so you get a smooth
transistion.
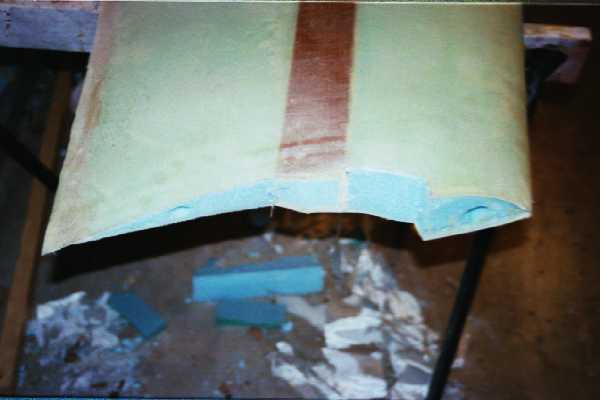
Below is a picture of a repair that was needed on the left winglet. I left the heat lamp too close for too
long and it caused exotherm. A piece of foam about six inches in diameter swelled. A dremel cut out the circle
and slurry was added. The two layups of UNI were placed over the spot with peel ply. Total repair time about
twenty minutes. As a comparision, in the Marines my final exam in aviation metalsmith school was to create a patch to
fix a three inch hole in aluminum skin. Cut, rivet, debur, measure, cut,debur, rivet, (hear me RV builders) ;
Total repair time, about six hours.
|
|
|
|
|
|
Using templates supplied in the plans, the bottom of the top winglet and the wing are cut to fit together a certain way.
To the left is the wing after being cut with a coping saw. To the bottom is the winglet being held in place while bondo
is placed at the seam and on the wood supportng structure. After cure the wing is flipped over.
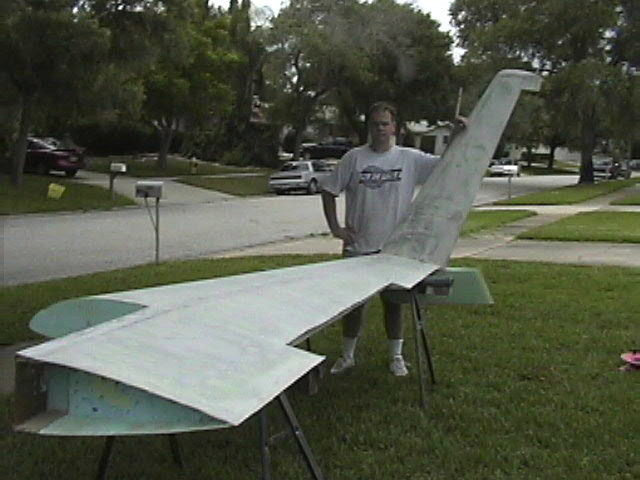
Above is a picture of the right wing as it sits ready for primer. Many hours of sanding brought us to this
point
|
|
