The Long EZ
STRAKES
Home
LONG EZ BACKGROUND
FUSELAGE
THE PANEL
CANOPY
STRAKES
LANDING GEAR
THE CENTER SECTION SPAR
WINGS
CANARD
ENGINE
LINKS
SWAG SECTION

The pictures below are taken slightly out of order.  The strakes were built slightly different than the plans.  In summary, a four by four piece of plywood was clamped to the bottom of the spar and leveled.  The bottom skin foam was bonded to the spar.  The ribs were then cut out and microed in place.  This was done a few at a time over several days rather than all at once as stated in the plans.  Once the ribs were in place, the inside tank layup was completed, then the top skin was placed on the ribs and weighted down for several days in the wood frame.  It is glassed on the inside, then placed on the ribs and weighted down.  As you can see, I had to cut the foam in several places outside the tank to get it take to curve and hold. 

10.jpg

The first step is to level the fuselage.  Then the table is clamped to the spar.  The bottom skin foam is laid out on the table and microed to the spar and the side of the fuselage.  This is easier to do in small steps than all at once as stated in the plans.

leftst3.jpg

Above you see a picture of the bottom of the left strake laid out on the table.  I built a four by four sheet of plywood, then clamped the rear onto the spar to hold it flush with the bottom of the spar.  The front is supported with two tripod stands which are height adjustable.  Below is a view from the rear.  Just visable is the clamp holding the table top to the spar.

leftstr2.jpg

str1.jpg

This is the top left strake skin sitting in the wood frame.  It has been turned over on the work bench and one layup of very wet bid has been attached.  You then wait about an hour or so for the layup to get tacky enough to not fall off of the foam when you flip it over and set it on the ribs.

1012.jpg

After cure, the weights are removed and this is how the strake looks before the baggage area skin is completed, and before the top layup.

1011.jpg

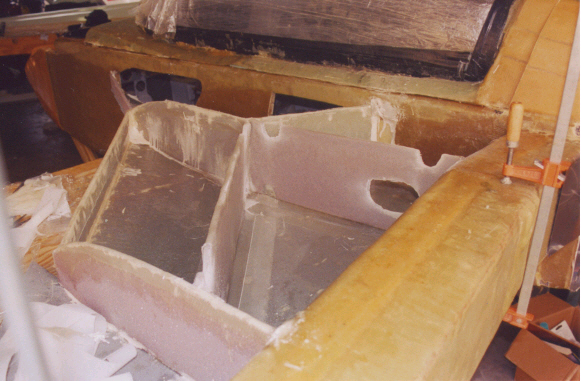
The next step is to cut out the baffles and ribs and one ply of bid is laid up on both sides.  This is also different than the plans.  The fuel tank interior layups will be easier with one layer already on the ribs.

leftstr1.jpg

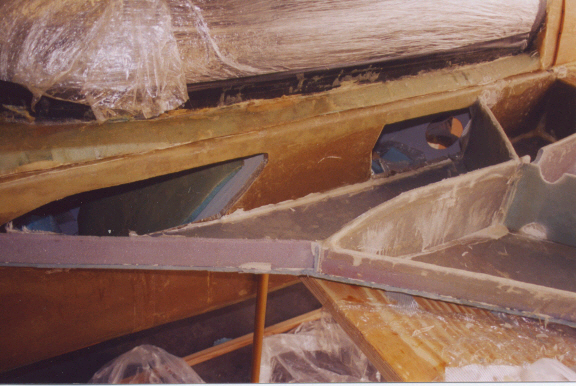
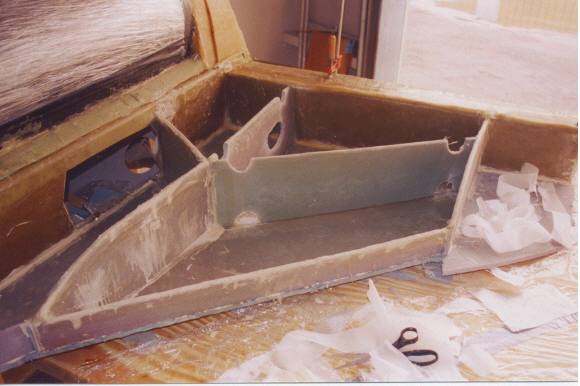
Above is a closeup of the baggage area.  Not quite large enough for all the camping gear needed at Oshkosh, 
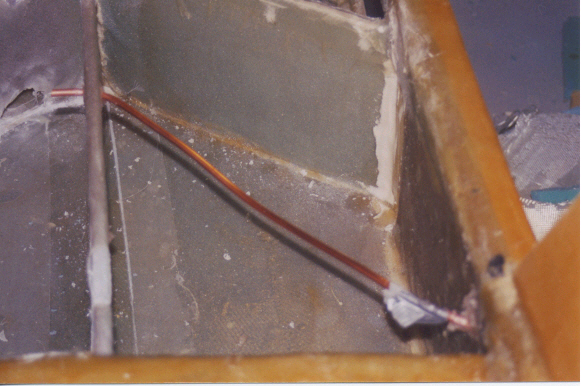
but close.  Below is a closeup of the fuel vent.  The silver tape near the bottom right is covering the holes drilled to allow the tank to vent when parked in the nose down position.


vent.jpg

str.jpg

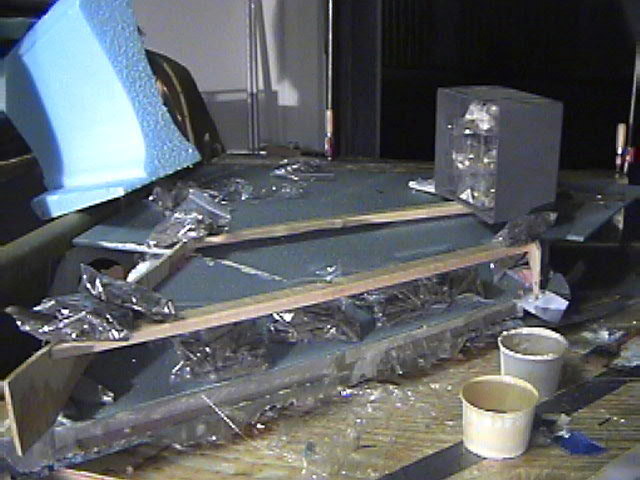
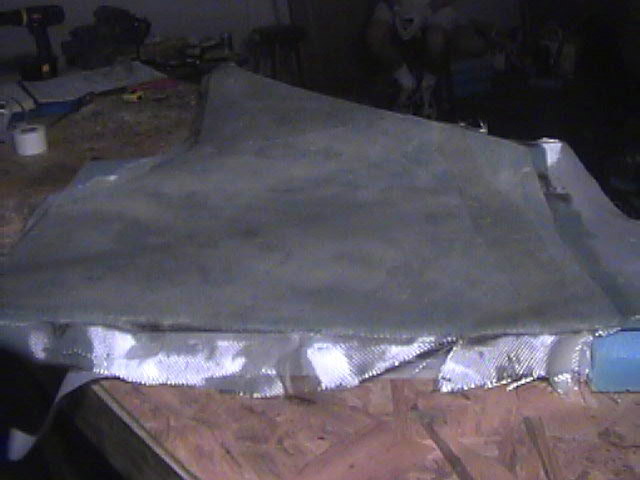
A thick bead of flox is then put down on the ribs.  Then one last look at the inside of the tank, and the skin is lifted up and placed carefully down on the ribs, taking care to sit directly down in one motion.  Any side to side movement could move the flox off the ribs and affect the  seal.  It is then weighted down for cure.

shutt.jpg

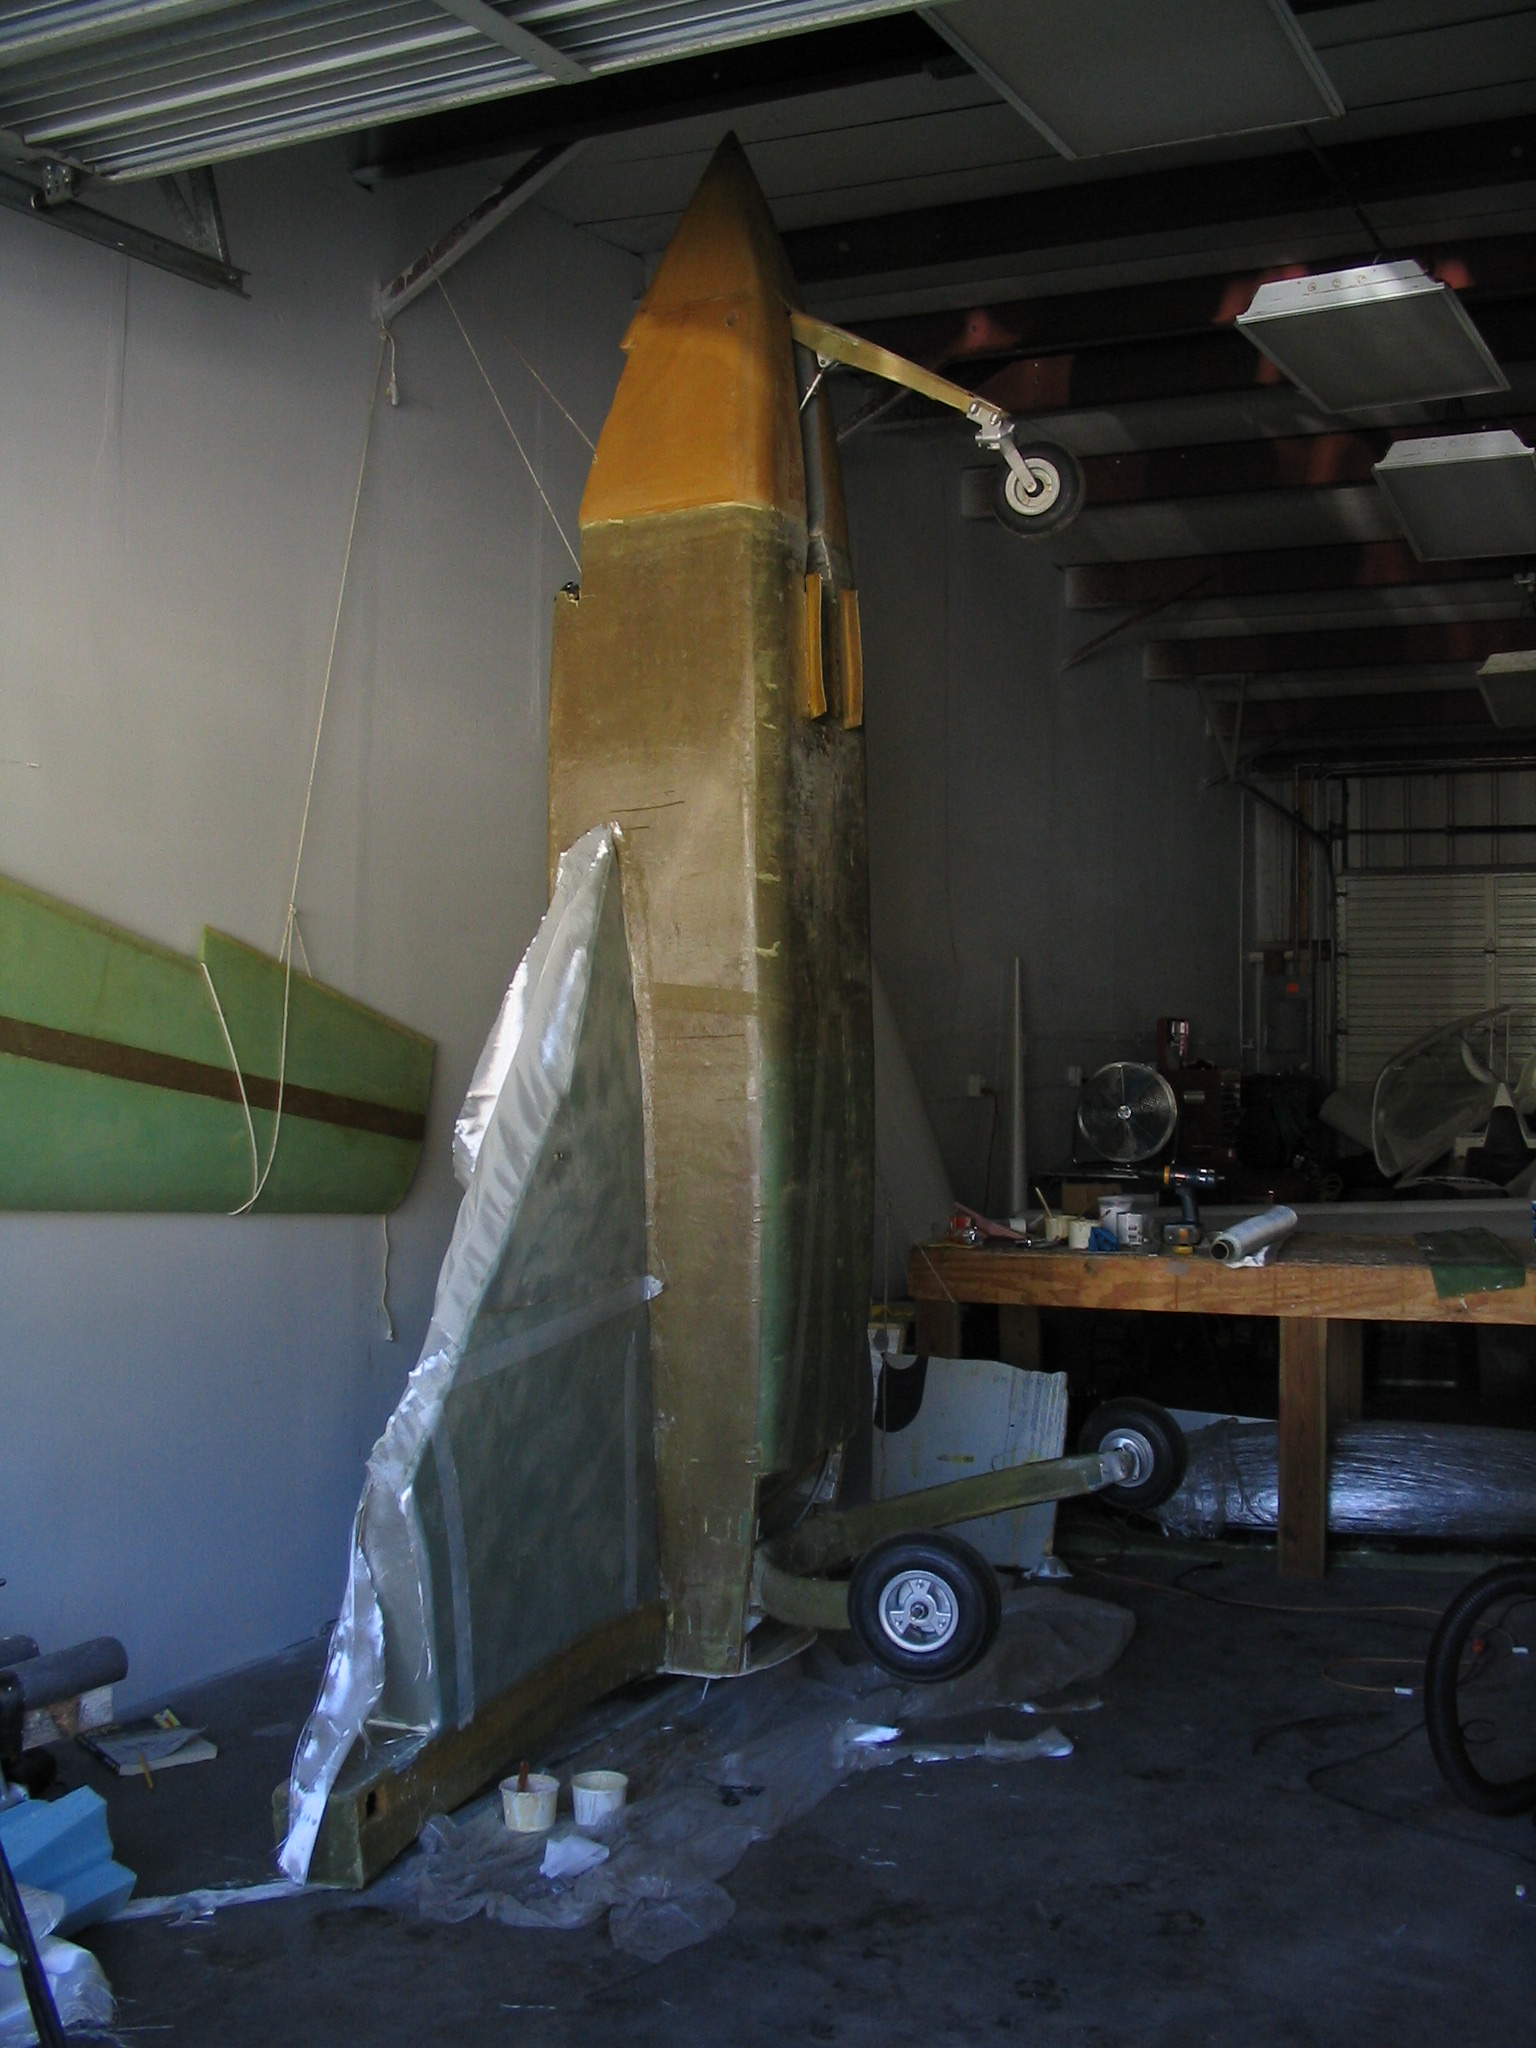
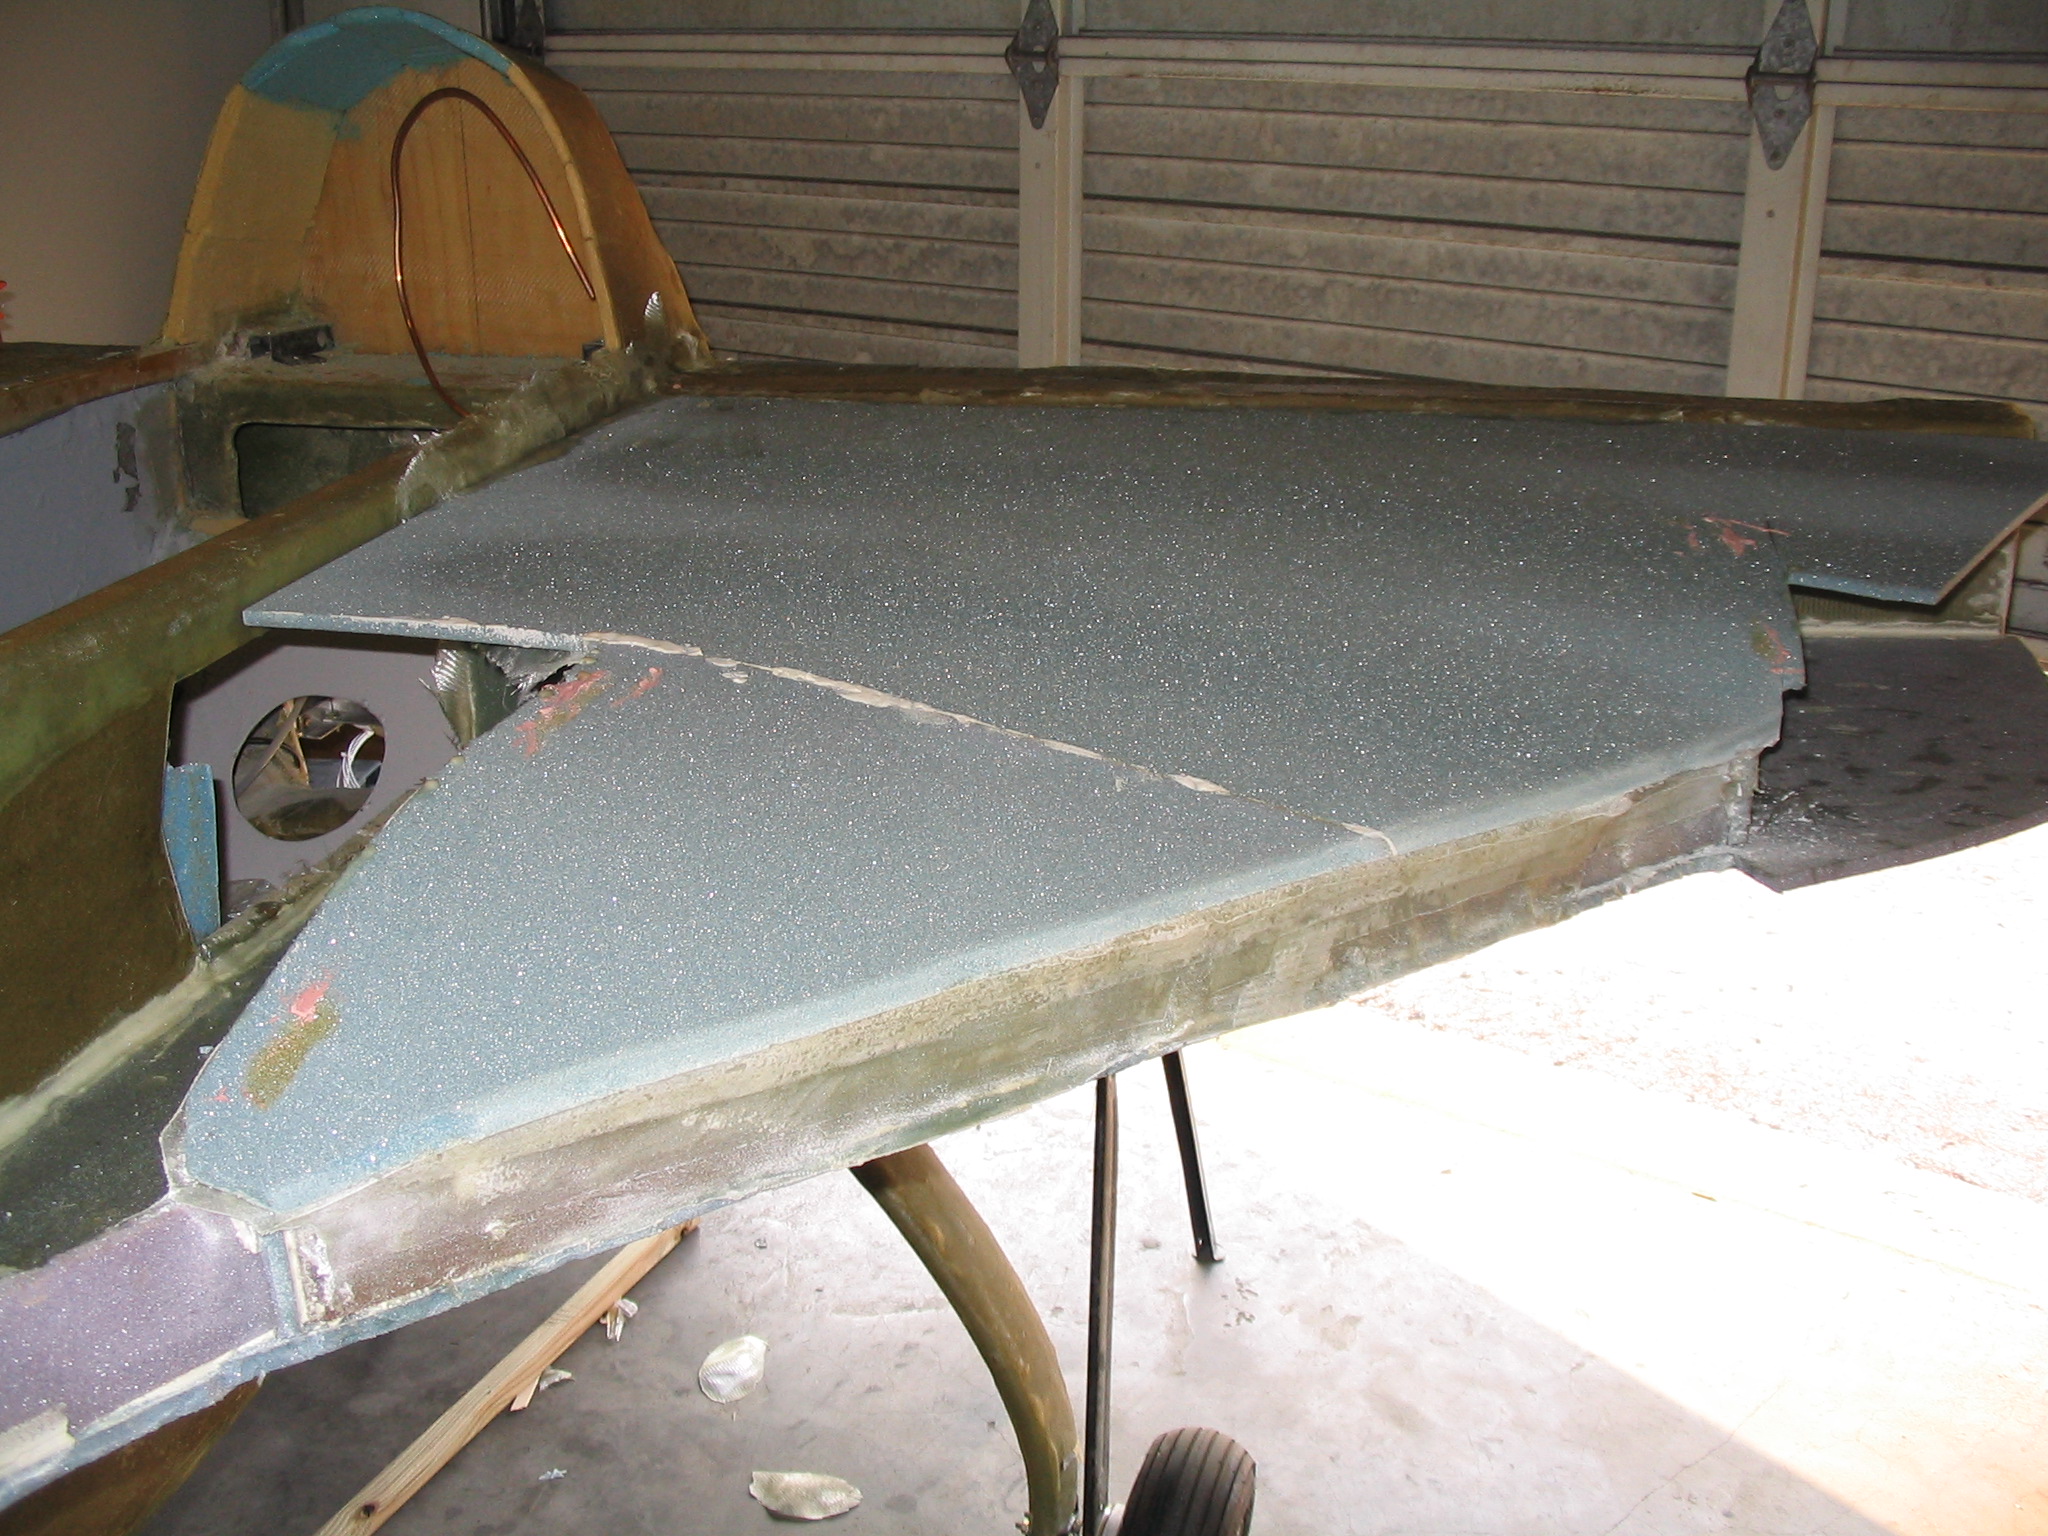
After both top layups are completed, the fuselage was placed in the space shuttle position to lay up the bottom of the strakes.

Strakes page 2