|
The center section spar passes through the fuselage just forward of the firewall. It provides a method for attaching
the wings to the airframe and also the structual support for the motor mount.
To begin the spar a two sided jig is built from particle board. Then a foam box is built in the jig.
You are left with a rectangular foam box outlining the shape of the spar.
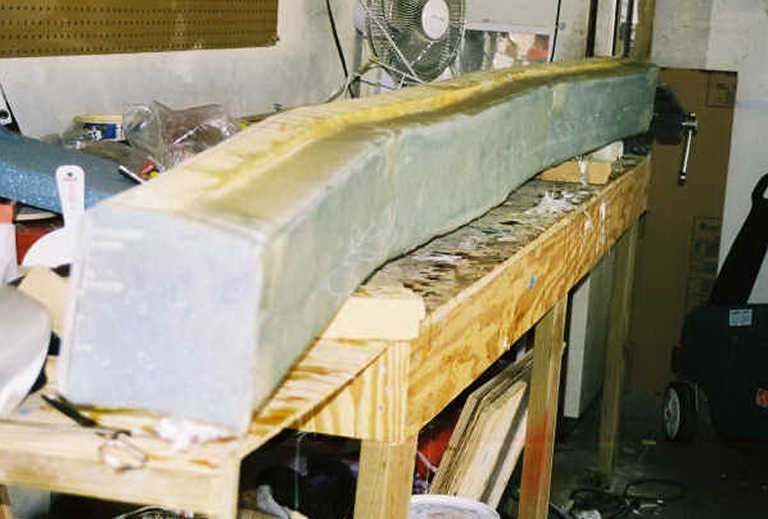
To the right is the spar as it is ready to receive the spar cap. The spar is laying forward face to
the left in this picture. The depression on the top face is for the spar cap. The spar cap is a 3 inch wide layup
of unidirectional tape. It is about 1/2 inch thick at the center and tapers smaller towards to the end sections.
Aluminum inserts and extra glass layups are also added in the aft face for the hardpoints to attach the bolts which hold
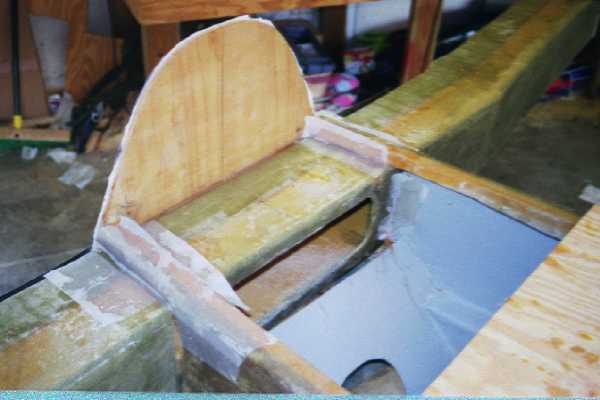
the wing to the spar. The spar then receives additional layups around the entire exterior. A hole is then cut
in the forward face to provide a baggage space behind the rear passenger seat and also provide access to the inboard wing
attach bolts. (See bottom photo)
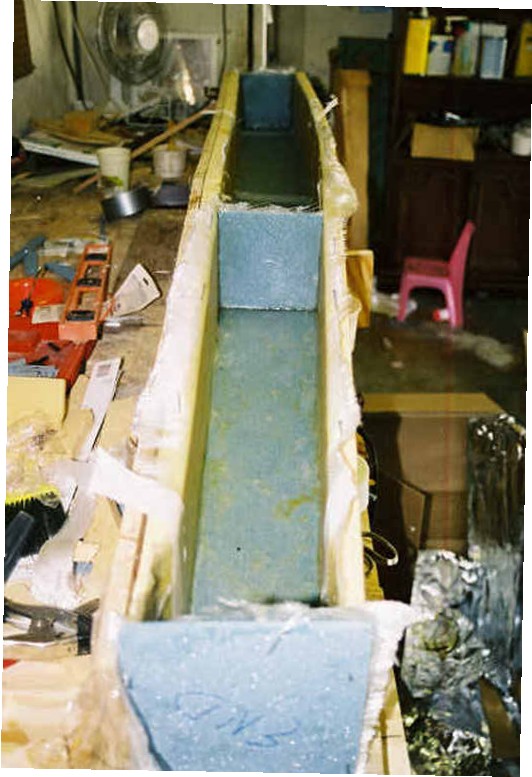
To the left is the spar on the table with the forward face down. The shear web has been applied and peel ply placed
over the entire web. The shear web is a lay up which ties the upper and lower spar caps together.
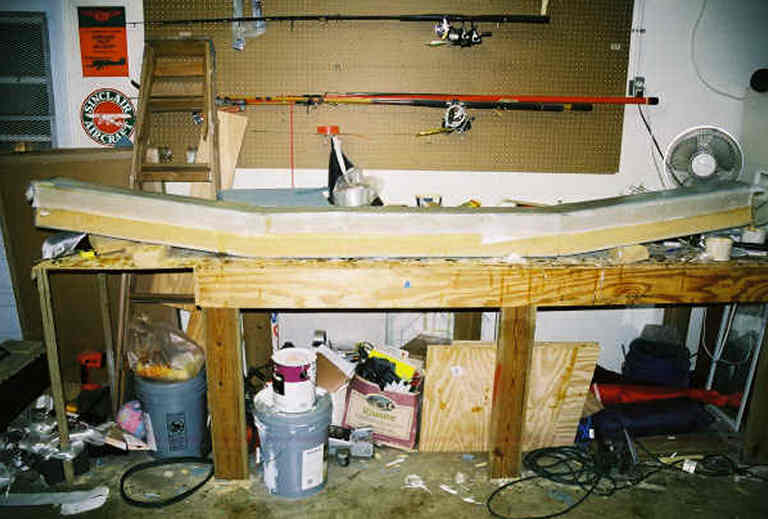
Below is a picture of the spar being bonded to the fuselage. After being placed into the space between the longerons,
it is "squared" in three axis; level, sweep and incidence, (whether the forward face is perfectly vertical ). Once
shimmed into place, BID layers and peel ply are added for cure.
|