|
I was never crazy about hot wiring my own wings. Not that I was afraid mind you, it is just that with the learning
curve and all, I thought it would add many months and effort to the project by learning to do the airfoil
shapes correctly. Fortunately, there is Jeff Russell at http://aerocad.com/ They design and build parts for their own canard desig, as well as parts for Cozy's and other aircraft. They
also build long ez wings. I purchased the wing cores already cut, molded wing spars and a spar and canard cores.
As soon as I saw the wing spars I knew I had made the right choice. The price was very fair to have someone who has
built actually hundreds of wings perform the labor intensive part of my wings. The wings will be assembled differently
than the plans long ez wings. In my opinion, much simpler. For starters the wing attach holes can be drilled
prior to building the wings.
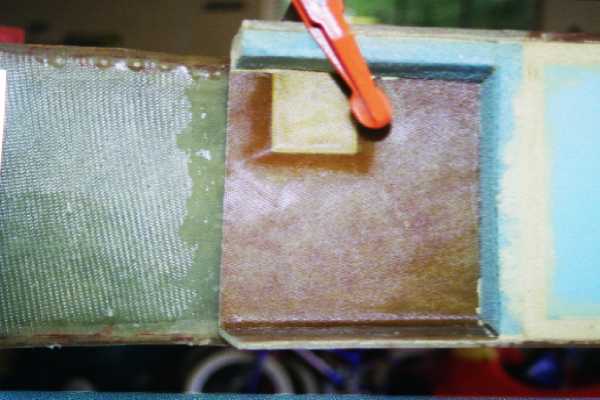
The molded spars are really nice. At right is a photo of the right inside wing attach bolt hardpoint. The
view is looking from the rear. The wing attach bolt will go through this aluminum and then through the
aluminum plates on the center spar. The green portion is the rear of the center section spar.
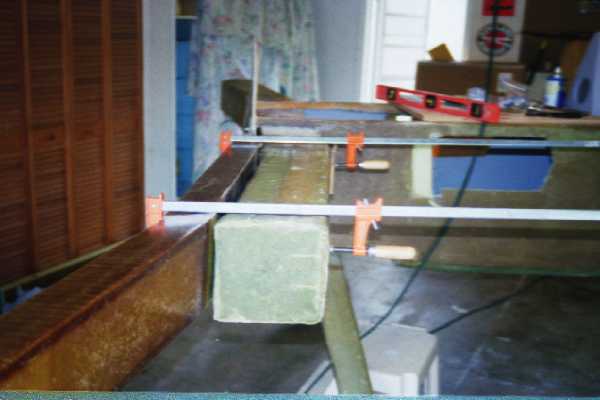
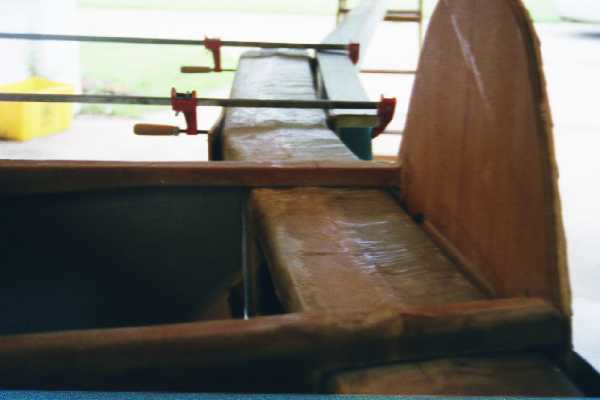
The photos at right show two views of the first trial fit of the wing spar against the rear of the center
spar. The alignment of the wing spar hardpoints to the center spar hardpoint was not exact, but well within the limits
for the bolts to get a good grip. This is one advantage of the Aerocad spars. That being you can align the spars
together, then drill the bolt holes without needing to have the wings completely built. As long as the wing spar
is square to the center spar, and the wing foam is square to the wing spar, then the wing will be square to the square root
of the triangle between the left tire and blah, blah blah...you get the picture.
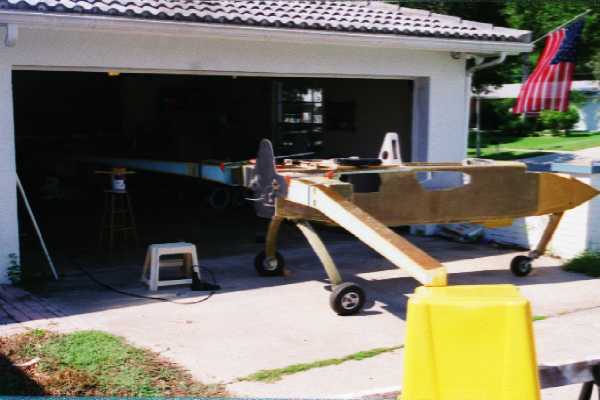
Before attaching the foam cores and closing the wings, it was time to drill the wing attach bolt holes. The
wings are attached to the center section spar with three 1/2 inch bolts on each wing. First you align the wing spars
up against the center section spar. This was done by leveling the fuselage longerons. Then the spars are clamped
to the center section spar, being supported by various items from my garage. My building partner Phil and I then
measured sweep by taking a measurement from the center point of the canard attach bulkhead to the center of the outer wing
attach hardpoint. Once they were within 2/10 of an inch I was satisfied. The plans say sweep can vary by
as much as three inches at the wing tips and not affect flying qualitites. Next was a phone call to Jeff Russell at
Aerocad for help on leveling. My problem was my driveway is not level. I was able to block the fuselage level,
but the wing spars are not level aross the top( they slant rearward and taper outward) , so I could not just slap a level
across the spars. Since I previously leveled the center section spar, I knew the outboard center section spar
hardpoints are level, (see above paragraph) so I flushed the tops of the spar hardpoints to the tops of the hardpoints
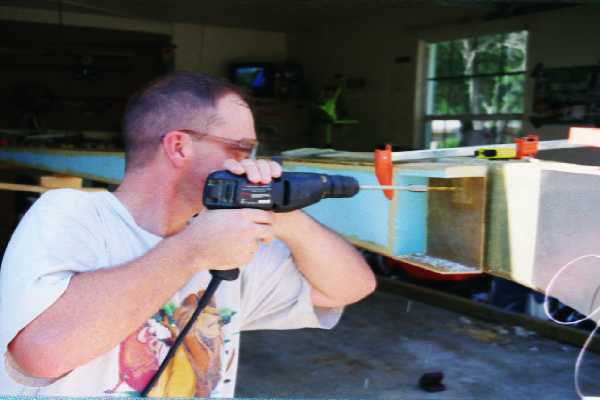
on the center section. Then I stepped back and stared at the whole thing for 30 minutes, remeasured, and then
grabbed the drill. A hole is drilled from the rear of the wing spar hardpoint through the center section spar
hardpoint. Eventually 5/8 inch holes will go in, but for now, 1/4 inch pilot holes are drilled. I can now start
building the wings.
|
 |
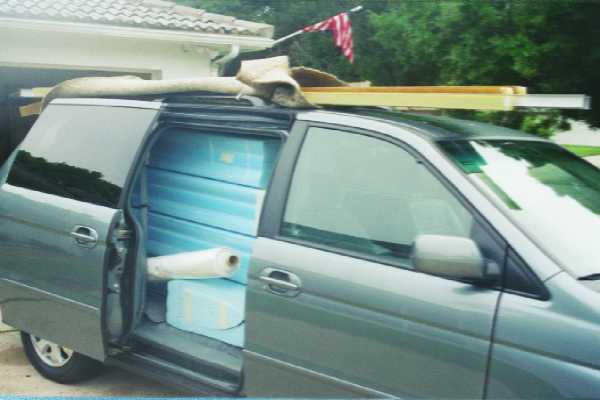
The three hour trip to Ft. Pierce from Clearwater was made and my wife's brand new van was stuffed to the gills with
foam and the spars are attached to the roof.
|